
CLINICAL ASSESSMENT
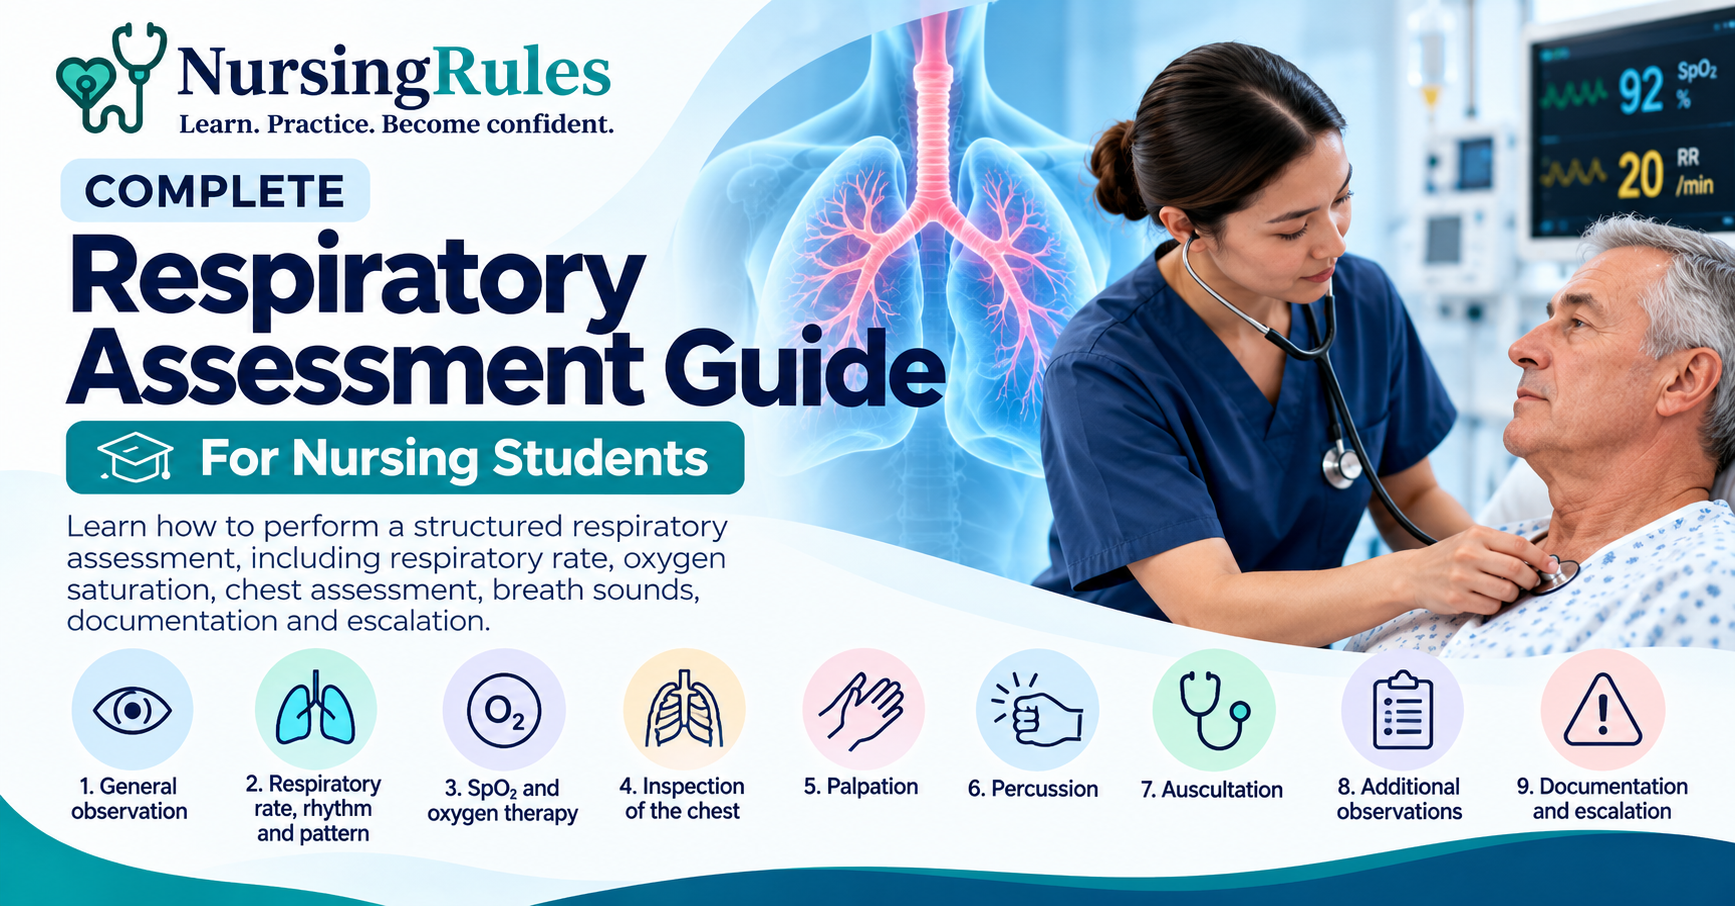
Respiratory Assessment for Nursing Students
A respiratory assessment is a structured evaluation of a patient’s respiratory function. It involves observing the patient’s general appearance and breathing, assessing respiratory rate and effort, measuring oxygen saturation, examining the chest, and using techniques such as palpation and auscultation to identify normal and abnormal findings. [1]
What is a Respiratory Assessment?
A respiratory assessment helps nurses recognise changes in breathing and identify findings that may indicate respiratory compromise or clinical deterioration. Assessment should consider the patient’s overall appearance, ability to speak, respiratory rate and pattern, work of breathing, oxygen saturation, chest movement and breath sounds, together with other relevant clinical findings. [1]
Respiratory findings should be interpreted in the context of the patient’s clinical condition, baseline observations and relevant history. New or worsening abnormalities should be documented, reassessed and escalated according to the healthcare service’s local recognition and response procedures.
Respiratory Assessment Sequence
- General observation and initial impression
- Respiratory rate, rhythm and pattern
- Oxygen saturation and oxygen therapy
- Inspection of the chest
- Palpation
- Percussion
- Auscultation
- Additional respiratory observations
- Documentation and escalation of abnormal findings
1. General Observation and Initial Impression
Begin the respiratory assessment by observing the patient before progressing to more focused examination. The patient’s general appearance, position, ability to speak, respiratory effort and colour can provide important early information about their respiratory status. [1]
What to Observe
- General appearance – Does the patient appear comfortable, breathless, distressed or exhausted?
- Position – Observe the position the patient adopts to breathe comfortably, including whether they are sitting upright or using a tripod position.
- Ability to speak – Note whether the patient can speak comfortably in full sentences or is limited to phrases or words.
- Work of breathing – Observe for increased respiratory effort.
- Accessory muscle use – Look for increased use of neck, intercostal or other accessory muscles during breathing.
- Skin and mucosal colour – Observe for abnormal pallor or cyanosis, particularly central colour changes.
- Level of consciousness – Note altered consciousness, confusion, agitation or increasing drowsiness.
- Audible respiratory sounds – Listen for sounds that can be heard without a stethoscope, such as wheeze, stridor, grunting or cough.
Clinical Tip – Observe Before You Examine
Take a moment to observe the patient before beginning the hands-on assessment. Their position, speech, respiratory effort, colour and level of consciousness may provide early clues to respiratory compromise. A patient who develops severe respiratory distress, altered consciousness, cyanosis, markedly reduced speech tolerance or other concerning deterioration requires prompt assessment and escalation according to local healthcare service procedures. [1]
2. Respiratory Rate, Rhythm and Pattern
Respiratory rate, rhythm and pattern provide important information about a patient’s respiratory status. Observe the patient’s breathing and assess the number of breaths, regularity of respirations and overall breathing pattern. Changes from the patient’s baseline or abnormal respiratory findings should be considered alongside the patient’s overall clinical condition. [1]
Respiratory Rate
Respiratory rate is the number of complete respiratory cycles occurring in one minute. Observe the rise and fall of the chest or abdomen and count respirations while also assessing respiratory effort and pattern.
- Count the patient’s respiratory rate accurately.
- Observe the chest or abdominal movement during breathing.
- Note whether breathing appears comfortable or laboured.
- Compare the finding with the patient’s previous observations and baseline, where available.
- Document the respiratory rate numerically as breaths per minute (breaths/min).
Rhythm and Pattern
Observe whether respirations occur regularly and assess the overall pattern and depth of breathing. [1]
- Regular – respirations occur at relatively consistent intervals.
- Irregular – the timing or pattern of respirations varies.
- Shallow – reduced depth of breathing is observed.
- Tachypnoeic – respiratory rate is faster than expected.
- Bradypnoeic – respiratory rate is slower than expected.
- Increased respiratory effort – breathing appears more difficult or requires greater effort.
Student Note: Reference ranges may vary between education resources, patient populations and healthcare services. Interpret the respiratory rate in the context of the patient’s clinical condition and use the relevant observation chart and local escalation criteria in clinical practice.
Clinical Tips – Don’t Record the Number Alone
When measuring respiratory rate, also observe the rhythm, depth and effort of breathing. A respiratory rate should not be interpreted in isolation. Consider changes from baseline, other vital signs and the patient’s overall clinical presentation. New or concerning abnormalities should be documented and escalated according to local healthcare service procedures.
3. Oxygen Saturation and Oxygen Therapy
Oxygen saturation (SpO₂) provides a non-invasive estimate of the percentage of haemoglobin saturated with oxygen. Pulse oximetry is used as part of the respiratory assessment to identify and monitor changes in oxygenation. SpO₂ should be interpreted together with the patient’s respiratory effort, clinical presentation, baseline observations and other assessment findings. [1]
Assessing Oxygen Saturation
Measure the patient’s SpO₂ using a pulse oximeter and document the result. When interpreting the reading, consider whether the patient is breathing room air or receiving supplemental oxygen.
- Record the SpO₂ (%).
- Identify whether the patient is breathing room air or receiving supplemental oxygen.
- If oxygen is being administered, document the oxygen delivery device and prescribed flow rate or concentration, as appropriate.
- Compare the reading with the patient’s baseline and previous observations, where available.
- Consider SpO₂ alongside respiratory rate, work of breathing, level of consciousness, colour and overall clinical presentation.
- Reassess and document changes following interventions or if the patient’s condition changes.
Oxygen Therapy
Supplemental oxygen should be treated as a therapeutic intervention and administered according to the patient’s clinical needs, prescribed or authorised target range, and local healthcare service policy. Oxygen should be titrated to an appropriate target rather than administered solely to achieve the highest possible SpO₂ reading. [2]
| Patient consideration | Educational guidance |
|---|---|
| Most acutely unwell adults requiring oxygen | Follow the prescribed/authorised target SpO₂ range and local clinical protocol. |
| Risk of hypercapnic respiratory failure | A lower target may be required; Australian guidance commonly uses 88–92% in relevant patients. [2] |
| Known COPD | Do not assume every patient requires the same oxygen target; assess the clinical context and follow the prescribed target/local protocol. |
Factors That Can Affect Pulse Oximetry
A pulse oximeter reading should not replace clinical assessment. If the SpO₂ reading appears inconsistent with the patient’s condition, reassess the patient and check the measurement before relying on the value.
- Poor peripheral perfusion
- Patient movement
- Incorrect or poorly positioned probe
- Environmental or equipment-related interference
- Some clinical situations in which conventional pulse oximetry may provide misleading information
Clinical Tip – Treat the Patient, Not Just the Number
Always interpret SpO₂ alongside the patient’s respiratory effort, respiratory rate, level of consciousness and overall clinical presentation. A patient can show significant respiratory distress even when the SpO₂ reading does not initially appear severely abnormal. Conversely, oxygen therapy should not simply be increased to achieve the highest possible saturation. Follow the prescribed target range and local escalation procedures. [2]
4. Inspection of the Chest
Inspection of the chest involves systematically observing the chest and abdomen for features that may provide information about respiratory function. Maintain the patient’s privacy and comfort while exposing only the area necessary for assessment. Observe the chest at rest and during breathing, comparing both sides for symmetry and abnormal movement. [1]
What to Inspect
- Chest movement and symmetry – Observe whether both sides of the chest rise and fall evenly during respiration.
- Chest expansion – Look for symmetrical expansion during inspiration.
- Respiratory effort – Observe whether breathing appears relaxed or requires increased effort.
- Accessory muscle use – Look for increased use of neck, intercostal or other accessory muscles.
- Chest wall abnormalities – Observe for visible deformity, injury, wounds or swelling.
- Paradoxical or asymmetrical movement – Note any area of the chest moving differently from the opposite side or from the expected respiratory movement.
- Tracheal position – Observe whether the trachea appears midline.
- Skin and colour – Observe the exposed chest and the patient’s central and peripheral colour for abnormalities.
- Finger clubbing – Inspect the fingers for clubbing where clinically relevant.
Chest Expansion and Symmetry
Normally, the chest should demonstrate relatively symmetrical movement during respiration. Reduced or asymmetrical movement may indicate an underlying respiratory or chest-wall abnormality and should be interpreted alongside other assessment findings.
Observe the anterior chest and, where appropriate, the lateral and posterior chest. Compare the movement of one side with the other rather than assessing each side in isolation.
Tracheal Position
Observe the position of the trachea and note whether it appears midline. Tracheal deviation is an abnormal finding that should be considered in conjunction with the patient’s respiratory status and other clinical findings. [1]
Abnormal Findings to Recognise
| Observation | Finding that warrants further assessment |
|---|---|
| Chest expansion | Reduced or asymmetrical movement |
| Respiratory effort | Increased effort or accessory muscle use |
| Chest wall | Injury, deformity, wounds or swelling |
| Chest movement | Paradoxical movement |
| Trachea | Not appearing midline |
| Colour | Central or peripheral cyanosis |
| Overall presentation | Increasing respiratory distress or exhaustion |
Clinical Tip – Compare Both Sides
Respiratory assessment is often comparative. When inspecting chest movement and expansion, compare the left and right sides and consider whether the finding represents a change from the patient’s baseline. New asymmetry, paradoxical movement or other concerning findings should prompt further assessment and escalation according to the patient’s clinical condition and local procedures.
5. Palpation
Palpation is used to further assess the chest wall and respiratory movement after inspection. Using the hands, assess for chest expansion, tenderness and other abnormal findings while comparing the left and right sides of the chest. Explain the procedure to the patient and consider any areas of pain or injury before palpation. [1]
What to Palpate
- Chest expansion – Assess whether both sides of the chest expand evenly during inspiration.
- Tenderness – Gently assess for areas of pain or tenderness over the chest wall.
- Chest wall abnormalities – Note unusual depressions, bulges or abnormal movement where present.
- Crepitus – Feel for an abnormal crackling sensation beneath the skin.
- Subcutaneous emphysema – Assess for air trapped within the subcutaneous tissues.
- Tactile fremitus – Assess transmitted vibrations through the chest wall where clinically appropriate.
- Skin – Consider temperature, moisture and turgor as part of the broader assessment.
Assessing Chest Expansion
Chest expansion can be assessed by positioning the hands symmetrically on the chest wall and observing or feeling the movement of both sides during inspiration. Compare the left and right sides for symmetry.
Reduced or asymmetrical expansion is an abnormal finding and should be interpreted together with inspection, respiratory effort, breath sounds and the patient’s overall clinical presentation.
Tactile Fremitus
Tactile fremitus refers to vibrations transmitted through the lung and chest wall when the patient speaks. These vibrations can be assessed by placing the hands on corresponding areas of the chest and comparing the vibration felt on each side.
Changes in fremitus may occur when the transmission of sound through underlying lung tissue changes. NSW ACI notes that increased fremitus may indicate inflammation or dense lung tissue. [1]
Subcutaneous Emphysema
Subcutaneous emphysema occurs when air is present within the tissues beneath the skin. On palpation, it may produce an unusual crackling or crepitant sensation. If detected, consider the finding alongside the patient’s respiratory status and other assessment findings and escalate according to the clinical situation and local procedures.
Clinical Tip – Compare Side to Side
Palpate the chest systematically and compare corresponding areas on the left and right sides. Consider chest expansion, tenderness and other palpable abnormalities together rather than interpreting one finding in isolation. If the patient has pain or suspected chest injury, use gentle assessment and work within your scope of practice and local clinical procedures.
6. Percussion
Chest percussion is a physical examination technique used to assess the underlying structures of the chest by producing sounds and vibrations through the chest wall. Percussion findings can provide additional information about whether underlying lung tissue contains predominantly air or has altered density. Findings should always be interpreted together with the patient’s history, inspection, palpation, auscultation and overall clinical presentation. [2]
How to Percuss the Chest
Percuss systematically over the lung fields, comparing corresponding areas on the left and right sides. Avoid percussing directly over bone, such as the scapulae or ribs, where possible.
- Position the patient appropriately and explain the assessment.
- Place the middle finger of your non-dominant hand firmly against the chest wall over an intercostal space.
- Using the middle finger of your dominant hand, strike the distal joint of the finger resting on the chest with a quick, controlled movement.
- Compare the sound produced at corresponding locations on both sides of the chest.
- Progress systematically across the lung fields rather than interpreting one area in isolation.
Interpreting Percussion Notes
| Percussion note | General interpretation |
|---|---|
| Resonant | Expected over normally aerated lung tissue |
| Dull | May indicate increased tissue density or fluid beneath the area being percussed |
| Hyper-resonant | May indicate an increased amount of air |
| Flat | Typically heard over very dense tissue, such as bone |
What Can Abnormal Percussion Suggest?
An abnormal percussion note does not establish a diagnosis by itself. For example, dullness may occur when the underlying lung region contains increased fluid or tissue density, while hyper-resonance may occur when there is increased air. These findings require correlation with the remainder of the respiratory assessment and, where indicated, further clinical investigation.
Clinical Tip – Compare Side to Side
Percussion is most useful when performed systematically and comparatively. Compare corresponding areas of the left and right lung fields and consider any difference alongside chest expansion, respiratory effort and breath sounds. An unexpected percussion note should prompt further assessment rather than being interpreted as a diagnosis on its own.
Student Note: The current NSW ACI focused adult respiratory assessment emphasises Look, Listen and Feel and does not include chest percussion in its core focused assessment sequence. Percussion may form part of a more comprehensive respiratory examination depending on the clinical setting, practitioner competence and local practice requirements. [1,2]
7. Auscultation
Auscultation involves listening to breath sounds with a stethoscope to assess air movement through the respiratory system and identify normal or abnormal sounds. Auscultate the lung fields systematically, comparing corresponding areas on the left and right sides. Assess the quality and location of breath sounds, air entry and the presence of adventitious breath sounds. [1]
How to Auscultate the Lungs
- Explain the procedure and position the patient appropriately.
- Use the diaphragm of the stethoscope and place it firmly against the chest wall.
- Where possible, listen directly against the skin rather than through clothing.
- Ask the patient to breathe slowly and deeply through their mouth, if tolerated.
- Listen to a complete respiratory cycle at each location.
- Move systematically through the lung fields.
- Compare corresponding areas on the left and right sides.
- Assess air entry, breath-sound quality and any additional/adventitious sounds.
- Note the location of any abnormal sounds.
Auscultate the anterior, lateral and posterior lung fields as clinically appropriate. A consistent side-to-side comparison helps identify differences in air entry or breath sounds between lung regions.
Normal Breath Sounds
| Breath sound | General characteristics | Common location |
|---|---|---|
| Vesicular | Soft, low-pitched; inspiration longer than expiration | Most peripheral lung fields |
| Bronchovesicular | Medium pitch; inspiration and expiration approximately similar | Around the major bronchi |
| Bronchial | Louder and higher-pitched; expiration more prominent | Normally over the tracheal/central airway region |
Student Note: The location and character of breath sounds should be considered together. A sound that is expected over a central airway may be abnormal when heard prominently over a peripheral lung field.
Adventitious Breath Sounds
Adventitious breath sounds are additional or abnormal respiratory sounds heard during auscultation. Their presence, character and location should be documented and interpreted alongside the remainder of the respiratory assessment. [1]
| Sound | What you may hear | General significance |
|---|---|---|
| Wheeze | Continuous, musical sound | Suggests airflow through narrowed or partially obstructed airways |
| Crackles | Discontinuous popping/crackling sounds, commonly heard during inspiration | May occur with fluid in the airways or opening of collapsed small airways/alveoli |
| Stridor | Harsh, high-pitched sound, often prominent during inspiration | Suggests significant upper-airway narrowing/obstruction and requires urgent clinical attention |
| Reduced air entry | Breath sounds quieter than expected in a lung region | Indicates reduced movement of air in that area and requires correlation with other findings |
| Absent/very quiet breath sounds | Little or no audible air movement in an expected lung field | Potentially significant finding requiring prompt assessment in the clinical context |
Wheeze
A wheeze is generally a continuous, musical respiratory sound produced when air moves through narrowed or partially obstructed airways. Document where the wheeze is heard and whether it is widespread or localised. [1]
Wheeze should not be used alone to diagnose a particular respiratory condition. Interpret it alongside the patient’s history, respiratory effort, oxygenation and other assessment findings.
Crackles
Crackles are discontinuous popping or crackling sounds, commonly heard during inspiration. They may occur when air moves through fluid-containing airways or when previously closed small airways or alveoli reopen. [1]
Document the location of crackles and whether they are localised or widespread. Consider the finding together with other features such as respiratory distress, cough, sputum, oxygenation and the patient’s cardiovascular and respiratory history.
Stridor
Stridor is a harsh, high-pitched respiratory sound associated with narrowing or obstruction of the upper airway. It may be audible without a stethoscope. Stridor is a concerning clinical finding and requires prompt assessment and escalation according to the patient’s condition and local emergency response procedures. [1]
Reduced or Absent Air Entry
Compare air entry between corresponding areas of the left and right lung fields. Reduced or absent air entry may indicate impaired movement of air into part of the lung and should prompt further assessment.
Consider reduced air entry alongside chest expansion, percussion findings, respiratory effort, SpO₂ and other breath sounds. A marked or new difference between sides is particularly important to recognise and escalate according to the clinical situation.
Clinical Tip – Listen Systematically
Auscultate corresponding areas on both sides of the chest and follow the same sequence each time. Do not document only that the chest is “clear.” Describe the air entry, breath-sound quality, presence or absence of adventitious sounds, and their location. Unexpected or worsening findings should be interpreted with the patient’s overall respiratory status and escalated according to local procedures. [1]
8. Additional Respiratory Observations
A complete respiratory assessment should consider additional symptoms and observations that may provide important information about the patient’s respiratory status. Assess for cough, sputum, haemoptysis, chest discomfort and other relevant symptoms, and interpret these findings alongside the physical examination and the patient’s clinical history. [1]
Cough
Assess whether the patient has a cough and determine its characteristics. NSW ACI recommends identifying whether a cough is productive or dry as part of the focused respiratory assessment. [1]
- Is the cough dry or productive?
- Is it new or chronic?
- Has its frequency or severity changed?
- Does coughing cause or worsen pain or breathlessness?
- If productive, assess the sputum.
Sputum
If the patient has a productive cough, assess the sputum where appropriate. Ask whether there has been a change from the patient’s usual sputum and document relevant characteristics.
- Amount – note whether sputum production has increased or decreased.
- Colour – describe the observed colour rather than assuming a diagnosis from it.
- Consistency – note whether it appears thin, thick or tenacious.
- Blood – determine whether blood or blood-stained sputum is present.
- Change from baseline – ask whether the sputum differs from what is usual for the patient.
Student Note: Sputum colour alone does not establish the cause of a respiratory illness. Interpret sputum characteristics alongside the patient’s symptoms, observations, history and other clinical findings.
Haemoptysis
Haemoptysis refers to coughing up blood originating from the respiratory tract. Ask about and observe for blood in sputum where relevant. New haemoptysis is an abnormal finding that requires further clinical assessment and appropriate escalation. [3]
Chest Pain, Pressure or Tightness
Ask whether the patient is experiencing chest pain, pressure or tightness. If present, assess the symptom further and consider whether additional cardiovascular assessment and escalation are required. [1]
Chest discomfort associated with respiratory symptoms should not automatically be assumed to have a respiratory cause. Consider the patient’s overall presentation and follow relevant local assessment and escalation pathways.
Relevant Respiratory History
Ask focused questions relevant to the patient’s current respiratory presentation and compare findings with their usual baseline where known.
- Onset and progression of breathlessness or respiratory symptoms
- Recent respiratory illness or infection
- Previous respiratory conditions or hospital admissions
- Previous ICU admission or intubation, where relevant
- Current medications and respiratory therapies
- Home oxygen use, where applicable
- Smoking history
- Recent contact with unwell people
- Factors that trigger or worsen breathlessness
- Effect of symptoms on usual activity or exertion
Clinical Tip – Look Beyond the Lungs
Respiratory symptoms should be interpreted as part of the patient’s overall clinical presentation. Cough, sputum, haemoptysis, chest discomfort, fatigue and reduced activity tolerance can provide important additional information. Consider respiratory findings alongside vital signs, cardiovascular findings, relevant history and changes from the patient’s usual baseline.
9. Documentation and Escalation of Abnormal Findings
Accurate documentation and timely escalation are essential components of respiratory assessment. Record assessment findings clearly, compare them with previous observations and the patient’s usual baseline where known, and monitor for changes or trends that may indicate clinical deterioration. [3,4]
Abnormal respiratory findings should be interpreted together with the patient’s overall clinical presentation rather than in isolation. New or worsening abnormalities require reassessment and escalation according to the healthcare service’s observation and response system, local policy and the nurse’s scope of practice. [3,4]
What to Document
Document relevant respiratory assessment findings, including:
- Respiratory rate, rhythm, depth and effort
- SpO₂
- Whether the patient is on room air or supplemental oxygen
- If receiving oxygen, the delivery device and prescribed flow rate/concentration, as appropriate
- Chest movement and symmetry
- Work of breathing and accessory muscle use
- Breath sounds, including air entry and location of adventitious sounds
- Cough and sputum characteristics, where present
- Relevant findings from palpation and percussion, if performed
- Chest pain, pressure or tightness, if reported
- Other significant symptoms or abnormal observations
- Changes from baseline or previous assessments
- Interventions performed and the patient’s response
- Any escalation or communication undertaken
Document Objectively
Use clear, objective and clinically meaningful language. Where possible, document what was observed or measured rather than relying only on vague terms such as “breathing okay” or “chest clear.”
Educational example
Instead of:
Respiratory assessment normal.
More informative:
RR 18 breaths/min, regular and unlaboured. SpO₂ 97% on room air. Chest expansion symmetrical. Equal air entry bilaterally with no adventitious breath sounds. Patient speaking comfortably in full sentences.
Recognising Findings That Require Escalation
Escalation should be based on the patient’s clinical condition, observation-chart criteria, changes from baseline and clinical concern. Do not wait for a single specific vital-sign threshold if the patient appears to be deteriorating. [4]
Examples of concerning respiratory findings include:
- Severe or increasing respiratory distress
- Increasing work of breathing
- New or worsening hypoxaemia
- Cyanosis
- Stridor
- Markedly reduced ability to speak because of breathlessness
- Bradypnoea or other concerning change in respiratory rate
- Silent chest or markedly reduced/absent air entry
- New altered level of consciousness
- Increasing exhaustion
- Significant new chest pain
- Rapid deterioration or any situation in which the nurse is seriously concerned about the patient
Escalation
If respiratory deterioration is identified, remain with the patient as clinically appropriate, perform or continue a systematic assessment, initiate interventions within your scope of practice and escalate care using the healthcare service’s local recognition and response system.
Follow the observation chart and escalation criteria used by your healthcare service. Continue to reassess the patient following interventions and document changes in clinical condition and response to treatment. [3,4]
Communicating Using ISBAR
When escalating respiratory deterioration, a structured communication framework such as ISBAR can help communicate important information clearly and efficiently.
| ISBAR | Respiratory example |
|---|---|
| I – Identity | Identify yourself, your role and the patient |
| S -Situation | State the immediate respiratory concern |
| B – Background | Provide relevant diagnosis, history, oxygen requirements and recent events |
| A -Assessment | Report respiratory rate, SpO₂, oxygen therapy, work of breathing, breath sounds and other relevant findings |
| R – Recommendation | Clearly state what assistance or review is required |
Educational ISBAR example
I: “This is [name], student nurse/RN on the medical ward. I’m calling about Mr Smith in bed 12.”
S: “He has developed increasing shortness of breath and increased work of breathing.”
B: “He was admitted with a lower respiratory tract infection and was previously maintaining his oxygen saturation on room air.”
A: “His respiratory rate has increased to 28 breaths/min and SpO₂ is 91% on room air. He is using accessory muscles and has reduced air entry with crackles at the right base.”
R: “I’m concerned that his respiratory status is deteriorating and would like an urgent clinical review.”
Educational example only: Actual escalation processes, terminology and required response should follow the healthcare service’s local policy and the clinician’s scope of practice.
Clinical Tip – Document the Trend, Not just the Snapshot
A single respiratory assessment provides information about the patient at one point in time. Comparing current findings with previous observations can reveal developing deterioration. Document significant changes, reassess after interventions and communicate concerns promptly using the healthcare service’s escalation pathway. [3,4]
Quick Respiratory Assessment Summary
Use this summary as a quick revision guide to the key components of a structured respiratory assessment. The depth and sequence of assessment should be adapted to the patient’s clinical condition, the care setting, local procedures and the nurse’s scope of practice.
| Assessment | Key points |
|---|---|
| 1. General observation | Observe general appearance, position, ability to speak, colour, level of consciousness and signs of respiratory distress. |
| 2. Rate, rhythm & pattern | Assess respiratory rate, regularity, depth, pattern and overall effort of breathing. |
| 3. SpO₂ & oxygen therapy | Measure SpO₂ and identify whether the patient is on room air or supplemental oxygen. If oxygen is in use, note the delivery device and prescribed flow/concentration as appropriate. |
| 4. Inspection | Inspect chest movement and symmetry, respiratory effort, accessory muscle use, chest-wall abnormalities and tracheal position. |
| 5. Palpation | Assess chest expansion, tenderness and other palpable abnormalities. Compare corresponding areas bilaterally. |
| 6. Percussion | If indicated and within scope, percuss systematically and compare sides for resonant, dull or hyper-resonant notes. |
| 7. Auscultation | Compare lung fields systematically. Assess air entry, breath-sound quality and adventitious sounds such as wheeze, crackles or stridor. |
| 8. Additional observations | Assess cough, sputum, haemoptysis, chest discomfort and relevant respiratory history. |
| 9. Document & escalate | Document findings and trends, reassess when indicated, and escalate new or worsening abnormalities according to local criteria. |
Clinical Tip – Assess Systematically
Using a consistent assessment sequence can reduce the chance of overlooking important findings. However, assessment priorities should always respond to the patient’s condition. If significant respiratory compromise or deterioration is identified, prioritise immediate assessment, appropriate intervention and escalation rather than completing every step of a routine examination first.
References
[1] Agency for Clinical Innovation. (2023). Respiratory assessment. NSW Health. Respiratory assessment – NSW Agency for Clinical Innovation
[2] Queensland Health. (2025). Primary Clinical Care Manual (12th ed.). Queensland Government. Primary Clinical Care Manual – Queensland Health
[3] Agency for Clinical Innovation. (2023). Shortness of breath: Adult ECAT protocol (A2.1; updated May 2024). NSW Health. Shortness of breath – Adult ECAT protocol
[4] Australian Commission on Safety and Quality in Health Care. (n.d.). Recognising and Responding to Acute Deterioration Standard. Recognising and Responding to Acute Deterioration Standard
Educational Disclaimer
This resource is intended for educational purposes only and is designed to support nursing students in developing their understanding of respiratory assessment. It does not replace formal nursing education, supervised clinical training, professional clinical judgement, or the policies and procedures of a healthcare organisation.
Clinical assessment, oxygen therapy, escalation criteria and scope of practice may vary according to the patient, clinical setting, healthcare service and jurisdiction. Students and healthcare professionals should follow current local policies, clinical guidelines, observation and escalation systems, and instructions from appropriately qualified clinical supervisors or healthcare professionals.
The information provided by NursingRules should not be used as a substitute for individual patient assessment, diagnosis, treatment, or professional medical advice. In clinical practice, new or worsening signs of deterioration should be assessed and escalated according to the healthcare service’s local procedures and the clinician’s scope of practice.